As anyone who knows me in the hobby doubtless realises, I like signals and signalling. Full signalling and block working are on the long-term “to do” list for the railway, but with the twin spurs of the approaching 2014 “Longest Day” steamup and the presence of Victor Isle encouraging action, I needed something done right now. Inspiration came from an obscure note at the back of a history book about a minor standard gauge line, the Pilmoor Boroughbridge and Knaresborough Railway in Yorkshire, part of the North Eastern Railway. During the ’30s the LNER S&T department were under pressure to save money, and came up with an interesting scheme for light and minor railways to eliminate the costs of signalmen and lampmen.
The idea was that signalboxes and signals would be removed, and points converted to hand-lever operation with some key-locking. Signals would be replaced with fixed boards painted with dazzlingly conspicuous schemes by day, and with patterned reflectors by night, and unlit. This meant that locomotives would require powerful electric lights.
Approaching a block/staff post, a train would first encounter a “Location Marker Board”, 7’6″ x 1’6″ with black and white diagonal stripes (and a zigzag pattern of white reflectors). This was the equivalent of a distant signal fixed at caution, and warned the driver to start braking as they approached.
The next board encountered was the “Station Limit Board”, positioned outside the first pointwork and replacing the Home signal, this was 1’6″ x 6’3″ and painted with red and white diagonal stripes (and a reflector pattern of a white rectangular border with 3 evenly spaced red circular clusters inside). The meaning of this was the same as a STOP board, effectively “Stop at this board unless/until signalled forward by the station board”.
The station board was the final one encountered, and the only one with a working light or moving parts. It consisted of a 4′ square white board mounted on a framework and arranged to pivot about a vertical axis, and with a 1’6″ square trapdoor in the middle. To permit a train to enter the station, the stationmaster or porter-in-charge would first set the points correctly, then using the key obtained he would unlock the station board, swing it to face the approaching train, and open the trapdoor which revealed a solid green square with a green lens at the centre (lit by night). Seeing the green square or light was the driver’s authority to pass the Station Limit Board and enter the station. There was no equivalent to a starter signal: possession of the staff (once the person in charge had set the points and given it to him) was a driver’s sole authority to depart. Interestingly, the design of the system assumed that all staff/block/crossing posts would be manned, fair enough in a time when freight traffic seemed to last longer than passenger and demanded strong backs for unloading and experienced brains to keep the books. It’s also worth noting that a crossing place could only show a green in one direction at once, so preventing two simultaneous arrivals. It is not widely known that this actually duplicates both rulebook requirements and interlocking standards for signalled crossing places- in the absence of trap points and sidings, only one home signal should (or could) be cleared at once.
Level crossings were slightly different. It was assumed that parliamentary (as opposed to light) railways would have to keep manned crossings in place, so the only possible saving to be had was the elimination of the lampman. Gate distant and stop signals were replaced with 4′ square boards, which pivoted about a horizontal axis to be face-on for “on” and lie flat and invisible for “off”. These were white with a diamond shaped design on the face; Gate Caution Boards had a black and yellow quartered face with the word GATE picked out horizontally in reflectors while Gate Stop Boards had a plain red diamond and the reflectors spelt STOP vertically. In one case the stop boards were not in a separate frame but fixed to the gates themselves, and thus only visible when the gates were closed to rail. More prototype information can be found at here and here.
For modelling purposes, the proper way would have been to cut the boards out of ply, paint them and apply “bling” crafting crystals with adhesive (and we do have the bits to do that, and might yet one day) but right now a quick fix was needed. The various boards were drawn full model size in CAD, copy-pasted till we had the total number required (3 station limit boards, 5 location marker boards, 6 section limit boards, 6 Gate Stop and 7 Gate Caution), printed, laminated, cut out and stuck to kebab sticks and stabbed into the ground. They were only intended for the day, but 6 weeks later are mostly still there. The printer ink will doubtless fade before too long, but it doesn’t matter as they were quick to make and install and just as quick and easy to replace.
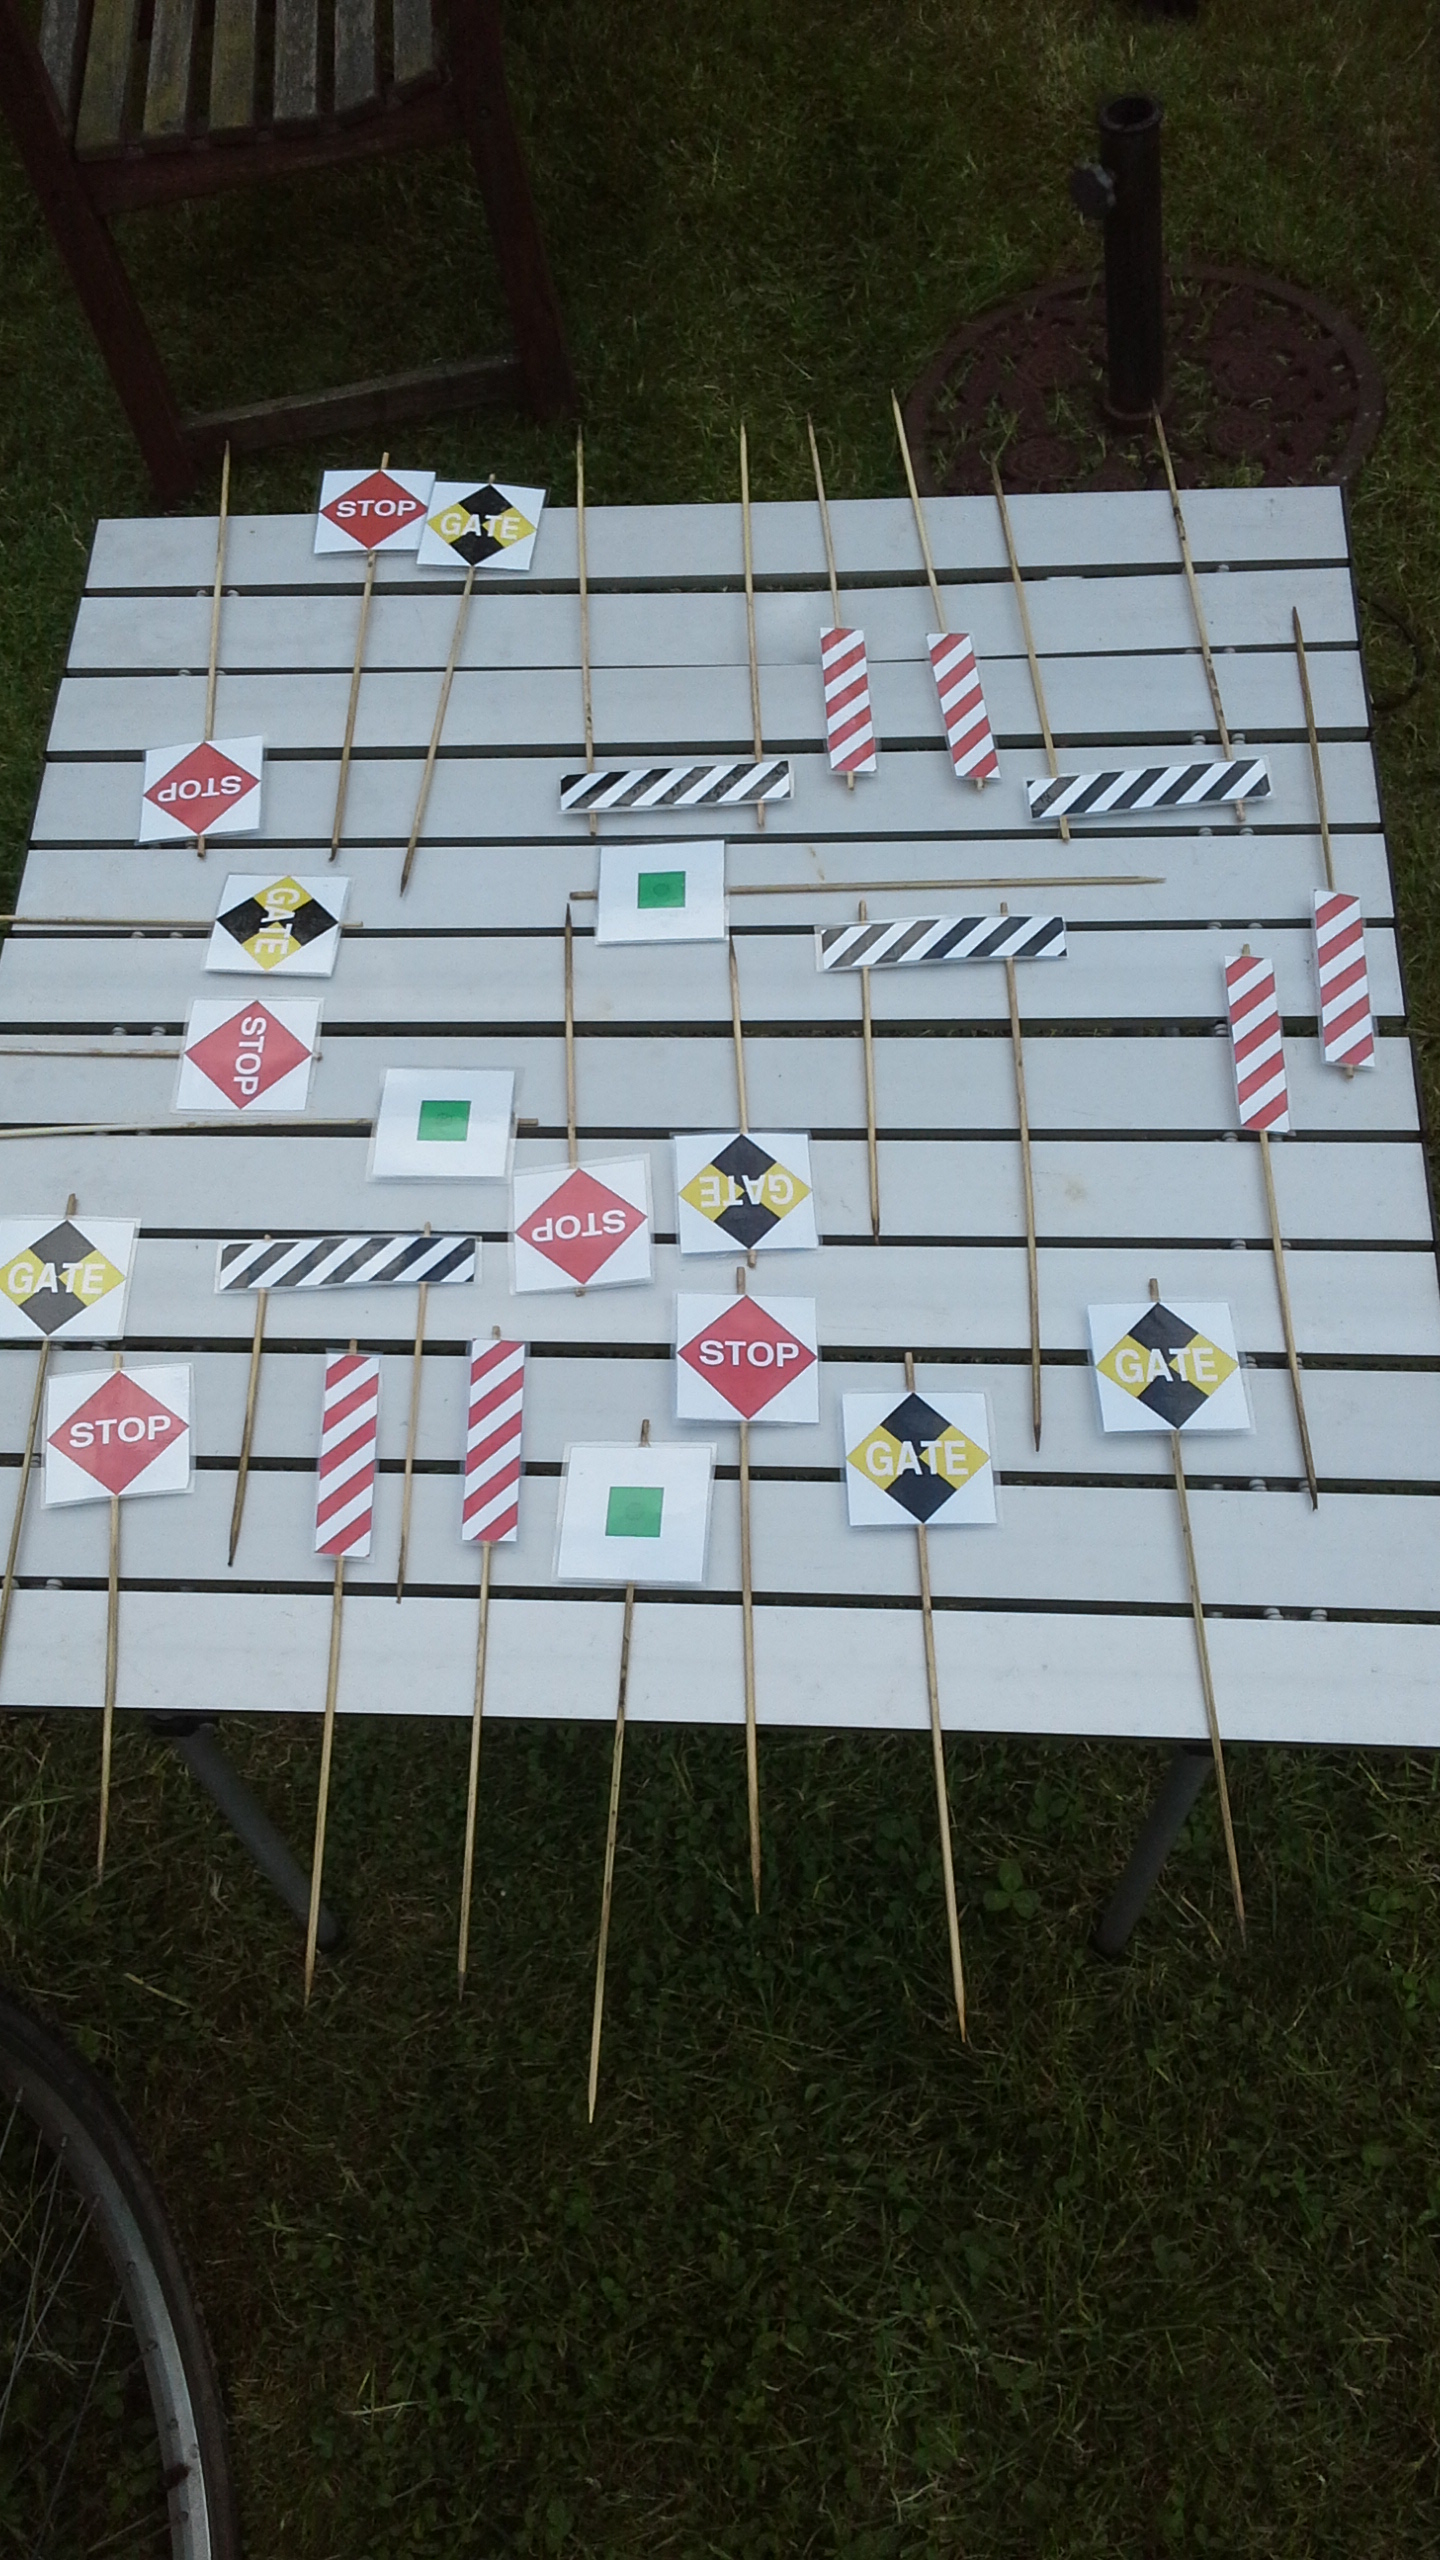
Complete set of “Boroughbridge boards” for the line awaiting installation.
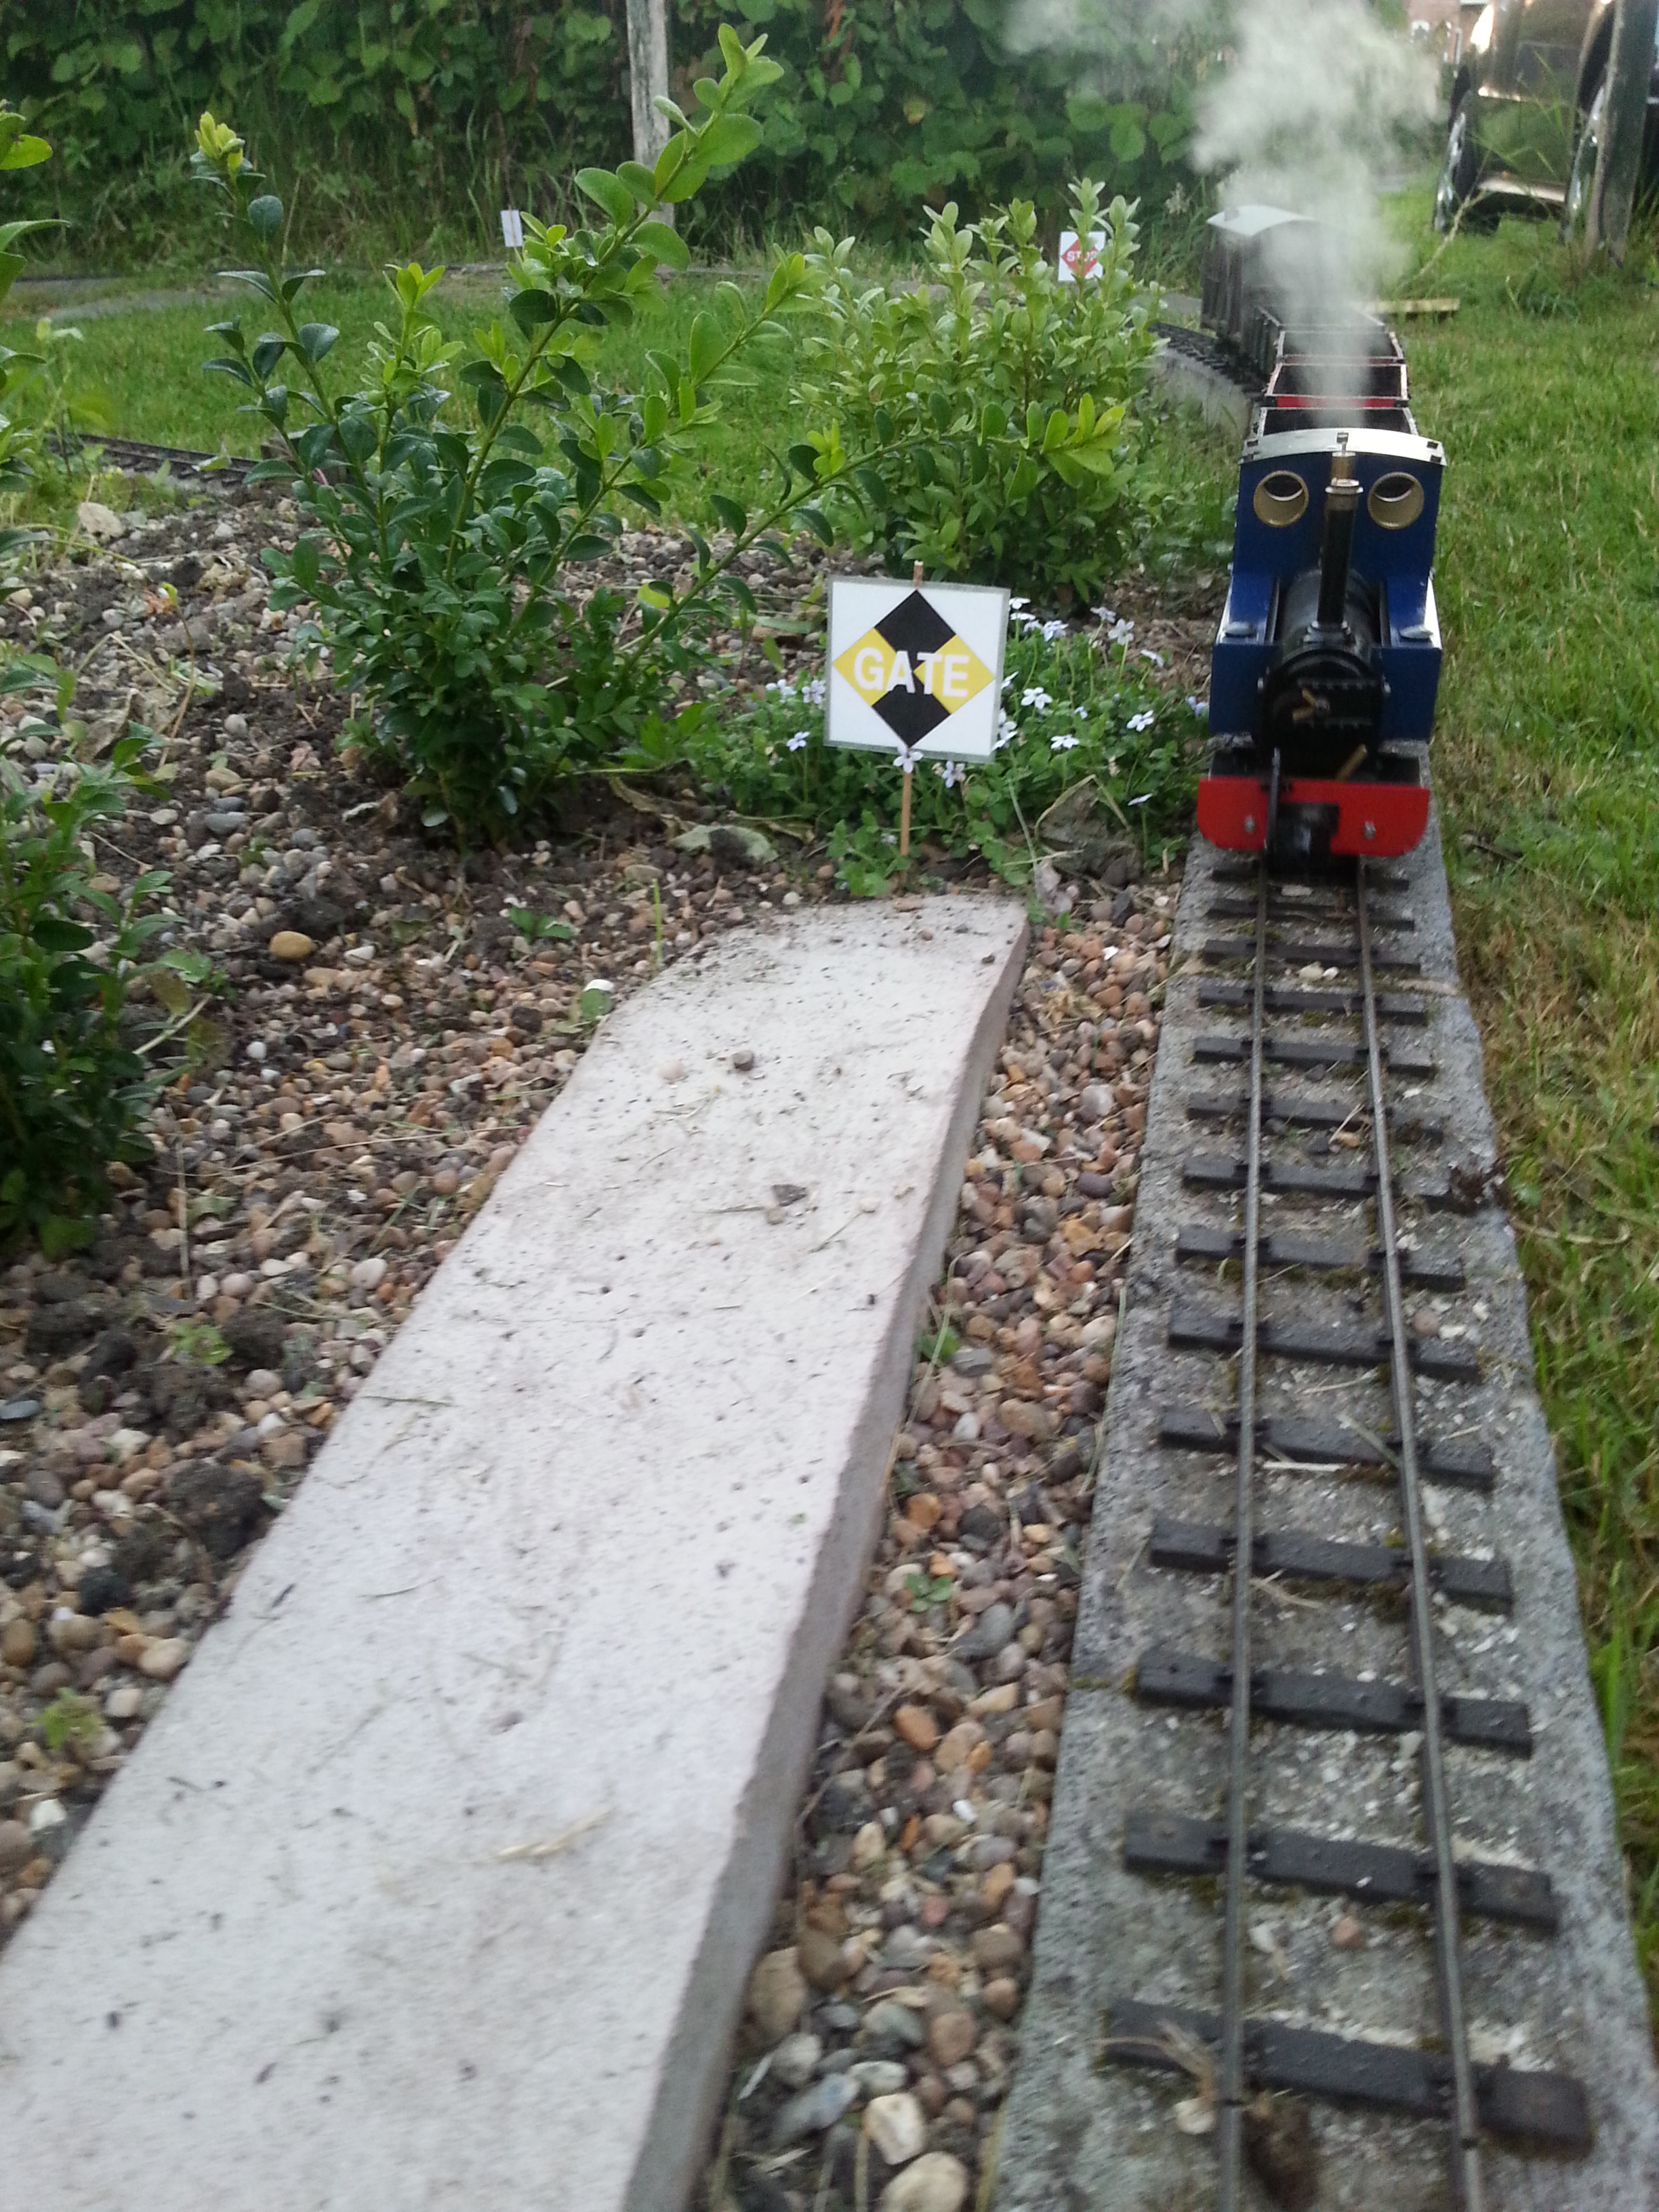
Gate Caution board for Baumber Lane, installed at the country end of Hatton.
